This is my general blog site for “stuff” I do.

VMAXSCART update

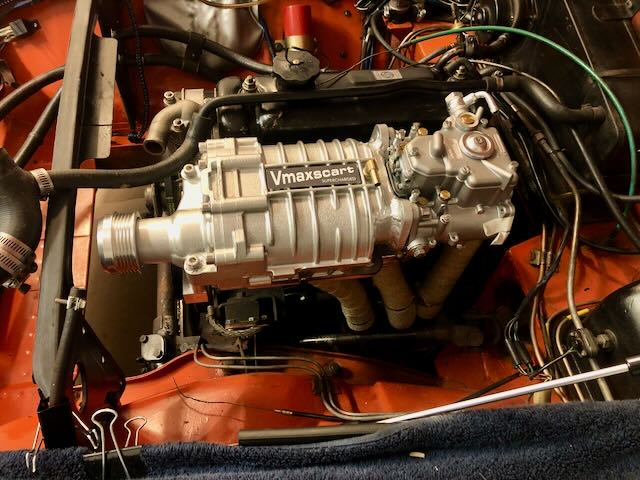
I finished the install and the car runs great. Following the included tuning instructions and all is good. The kit comes jetted for the 1800 engine and they seem to be fine. There were a few mods that needed to happen for the install, none of which were major.

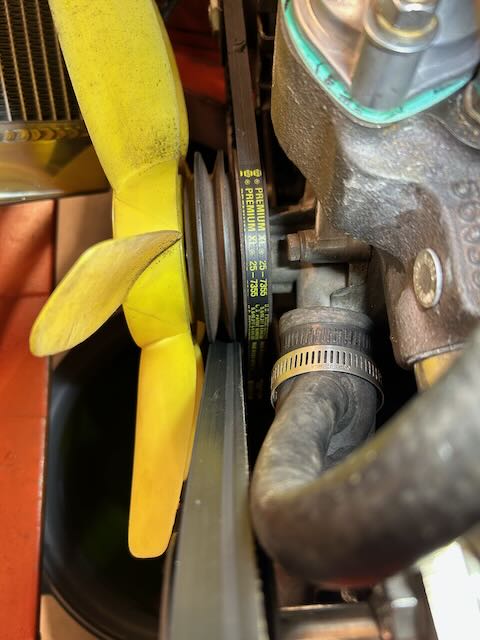
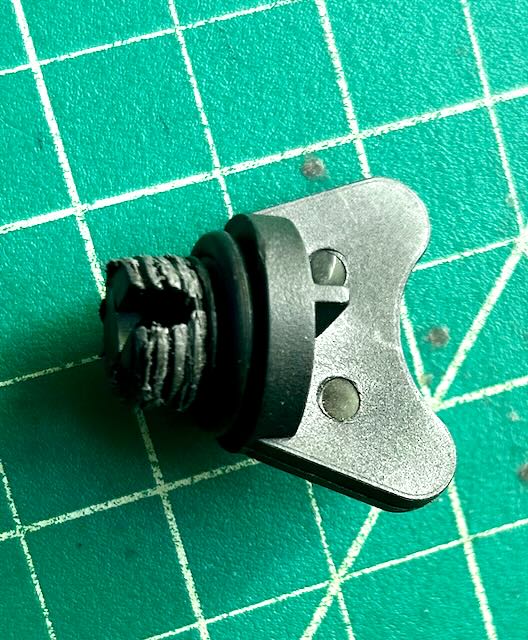
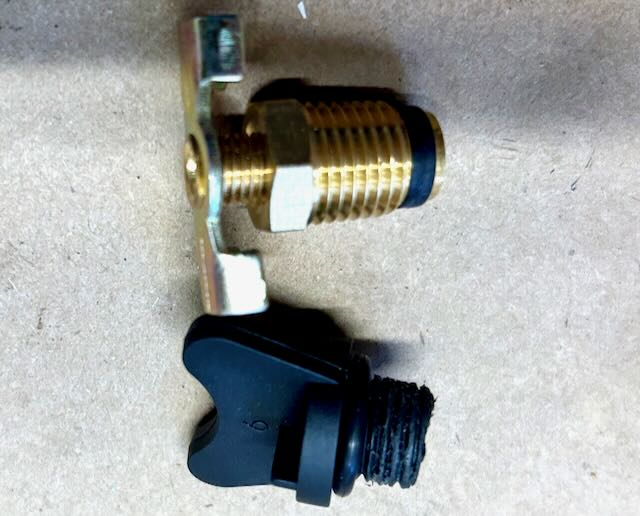
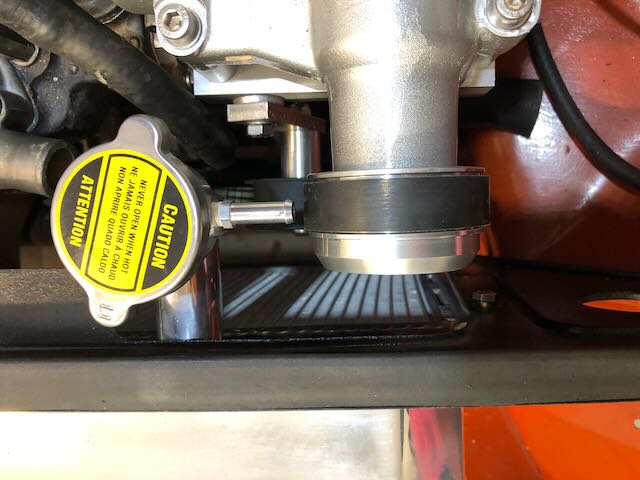
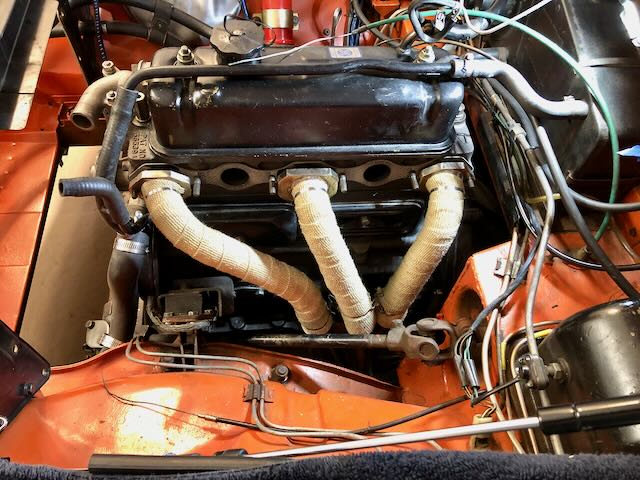
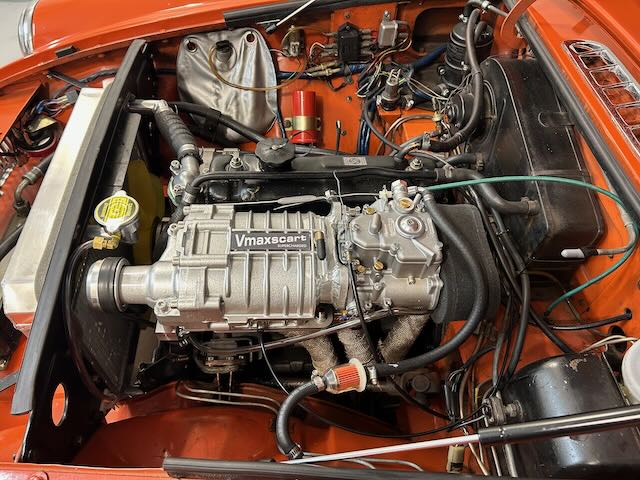
Since this is an early 74 ‘American’ the area between the radiator and engine is closer that earlier cars. That meant that the upper left (driver) side radiator outlet interfered with the pulley on the supercharger. The solution was to purchase an aluminum radiator for an earlier car. I also purchased the engine connection that faced the other way as well. This gave me the space needed for the SC pulley. I also needed to shorten the crankcase vent tube to clear the SC body.

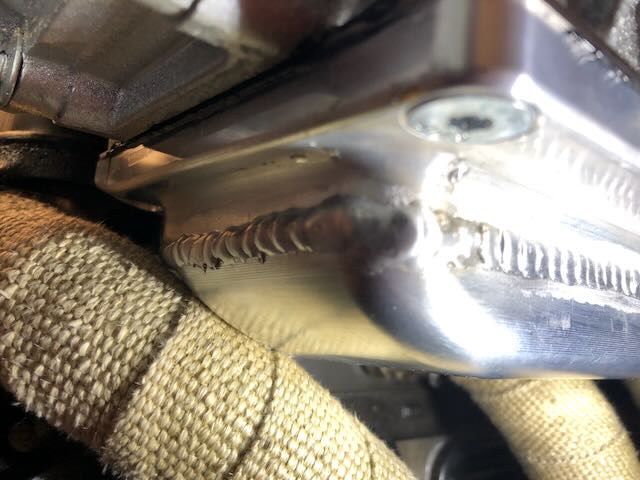
Next was the lower connection hose. For that I followed the instructions for the Moss SC install. They cut the original hose to the correct length and put a connector in the center of the hose.

The next project on the install will be gauges. I’d like to install a boost gauge as well as a gauge for Air/Fuel ratios. I’m not sure I need them… but it would be good ‘Bling’ for the driver (me).

So, my hat goes off to the VMAXSCART team for their design and execution of the kit. I’m enjoying the new power curve and responsiveness this kit provides.

74 MGB Front Suspension

The front suspension bushings were original and needed replacing. I purchased SuperPro Poly bushings from Moss Motors for the job. There are great videos on-line for this project that I used to bolster my courage. It turns out it’s quite simple to do, even without a lift. I put the front of the car on Jack Stands and everything went smoothly after that. It did tighten up the front quite a bit. The SuperPro kit, supplied with split bushings, was simple to install. I’m sure these will outlive my ownership of the car…

VMAXSCART – Pulley Mod Not working

One of my goals was to keep the original 1974 fan for cooling. The American version in 74 included a compressor for the ‘smog reduction’ systems. That was removed from this car before I bought it. The original pulley extends the gap between the water pump and the radiator for a second belt to drive the compressor. It’s just enough to allow the Super Charger belt to fit between the fan and the alternator belt. But… my configuration of the SC belt just touches the empty compressor belt area. This is visible in the photo below. Notice the mark on the SC belt where the ‘rib’ of the pulley is touching it.

I’ve found a machine shop that will reduce the diameter of the area which will allow the SC belt enough room to work as planned.

I’m hoping the fan is enough to cool the system. This, plus the new radiator, may prove enough. I can hope, can’t I?

UPDATE: I was trying to route the belt so it would give more space to the bottom radiator hose by putting the tensioner pulley behind the lower belt. It looked good, but didn’t work. The upper belt continued to rub even after I had it reduced in size. So I went back to the original configuration of the tensioner. More on that later.

VMAXSCART – Radiator Plug

It always seems to be the simplest thing that stalls a project. The new radiator was shipped with a stripped, plastic, drain plug.

I’m contacted the supplier and they are sending a new plug. I’m hoping it will arrive this week so I can take advantage of the spring weather we’re having.

In the mean time I’ve completed everything else I can. This included attaching the cooling pipes, overflow tube for the radiator, fuel line/filter install, installed under hood insulation and many other small items.

The most important thing was that I started the engine for a very short idle. Since I don’t have any coolant in the system I couldn’t run it for very long. But, it was GREAT to hear the sound of the engine after a winter of storage and upgrades.

I’m hoping to do a summary of the project after I’m completed. I’ve noticed slight differences of installation that weren’t expected but understandable. The 74 MGB U.S. version includes the wonders of environmental accessories. I’m still researching what to do with all of that plumbing. Ah, the European MGBs are so much easier.

UPDATE: (5/15/23). I just received a new, brass, pitcock in the mail. Very fast replacement by the vendor. I’ll be filling and tuning the carb in the near future.

On Vacation

Well, I had my first vacation in about 3 years. Covid kept us home. I was in Florida for about a month. Work on the super charger install was stalled. I’m back and next is finishing the project before the car shows start in the north.

VMAXSCART – New Radiator

Since the Super Charger pulley extends into the area where the outlet is on the 74 Radiator so I needed to change radiators. The new one has the engine connection on the passenger side. The filter is still on the drivers side but doesn’t interfere with the pulley. BUT, the overflow connection will need to be modified.

Here’s what I bought.
Notice the overflow tube
There’s no room for a exit hose

I’ve removed the current connector and a shorter connection should work. It’s metric so it’s not available at my local auto stores in Michigan. I’ve found the correct bolt and I’m going to use that to fabricate a new connection that’s shorter. My friend has a lathe that can drill out the center of the bolt and create a shorter snout.

Here’s my current state of the install. Next is the cooling system.

Radiator installed

The new radiator works with only a bit of enlarging of the support bracket holes. The water hoses will need to be fabricated from the water pump to the radiator to clear the super charger belt. That’s next on the list.

VMAXSCART – Choke Cable Fix

Choke Cable Connection

I connected the choke control cable today while waiting for my radiator. The choke cable on my early 74 MGB is larger than the hole in the DCOE choke shoulder bolt. I noticed someone else mentioned this and had a solution I used. Two small flat washers that would fit the bolt and not over the shoulder of the bolt. Then I compressed the cable between the washers.

VMAXSCART – Need a new radiator…

If you read my previous post you will have seen the snout of the super charger was where the early 74 radiator connection should be…. Another part of the project is being creative.

The solution I’m working on today includes:

A new aluminum radiator from an earlier style mgb. The 1967 B has the upper connection on the passenger side of the unit. My research discovered that many of the radiators are back ordered with no indication of when they could arrive. That lead me to my current solution of an aluminum version. I ordered one of those today.

Well, the current (74) thermostat housing points to the driver side where the original outlet resides. So, I need to source a housing that points either towards the passenger side or toward the front of the car. The European version does not have the pump bracket and it does point toward the corrected side. So I ordered one this morning from NorthWest British car, in Seattle.

The main reason I began this project was the challenge and the learning. I knew that this is not the Moss kit and could provide creative solutions for it to work. Each MGB is different and I’m learning many of the differences.

Now I’m waiting for the radiator and thermostat housing to arrive. More later.

VMAXSCART – Dry Fit

Dry Fit of Blower

Today I did a test fit of the blower to the engine and I found a couple of challenges.

The first was the crankcase breather tube came up under the blower idler pulley bracket. That needed to be shortened so that I could fit a hose that will route to the carb intake. The hacksaw did a fine job of shortening it.

VMAXSCART tight fit with Tourist Trophy header

I tightened down the header and the SC and noticed that the manifold is compressing the heat tape at the number 1 cylinder. I’m wondering if this will be an issue. I believe the header and SC are torqued down and sealed to the head. The other header pipes have clearance without contact. I’ve emailed Stuart and asked that question. Some solutions could include ‘reshaping’ the header pipe to reduce contact.

One good thing I found was that the manifold studs are long enough to preset the washers and nuts in place before setting the blower onto the studs. Stuart designed the ears so that you drop the unit into place from the top with the washers in place. Thanks Stuart!

VMAXSCART – Header Wrap

This was a great, short, project for today. I used a 15 foot roll of 3 inch heat tape for the three pipe header. I divided it into three 5 foot lengths which easily covered the pipes down to just above the collector. Its main purpose is to reduce the heat just below the super charger. The unit is supplied with a cooling section built into the bottom of the manifold. That can be chilled with a radiator and pump which is available, as an option, from VMAXSCART.

Next, I’m going to ‘dry fit’ the super charger, to see how the fuel line, crankcase breather and water hoses will work.

Tourist Trophy header wrapped.
« Older posts

© 2024

Theme by Anders NorenUp ↑